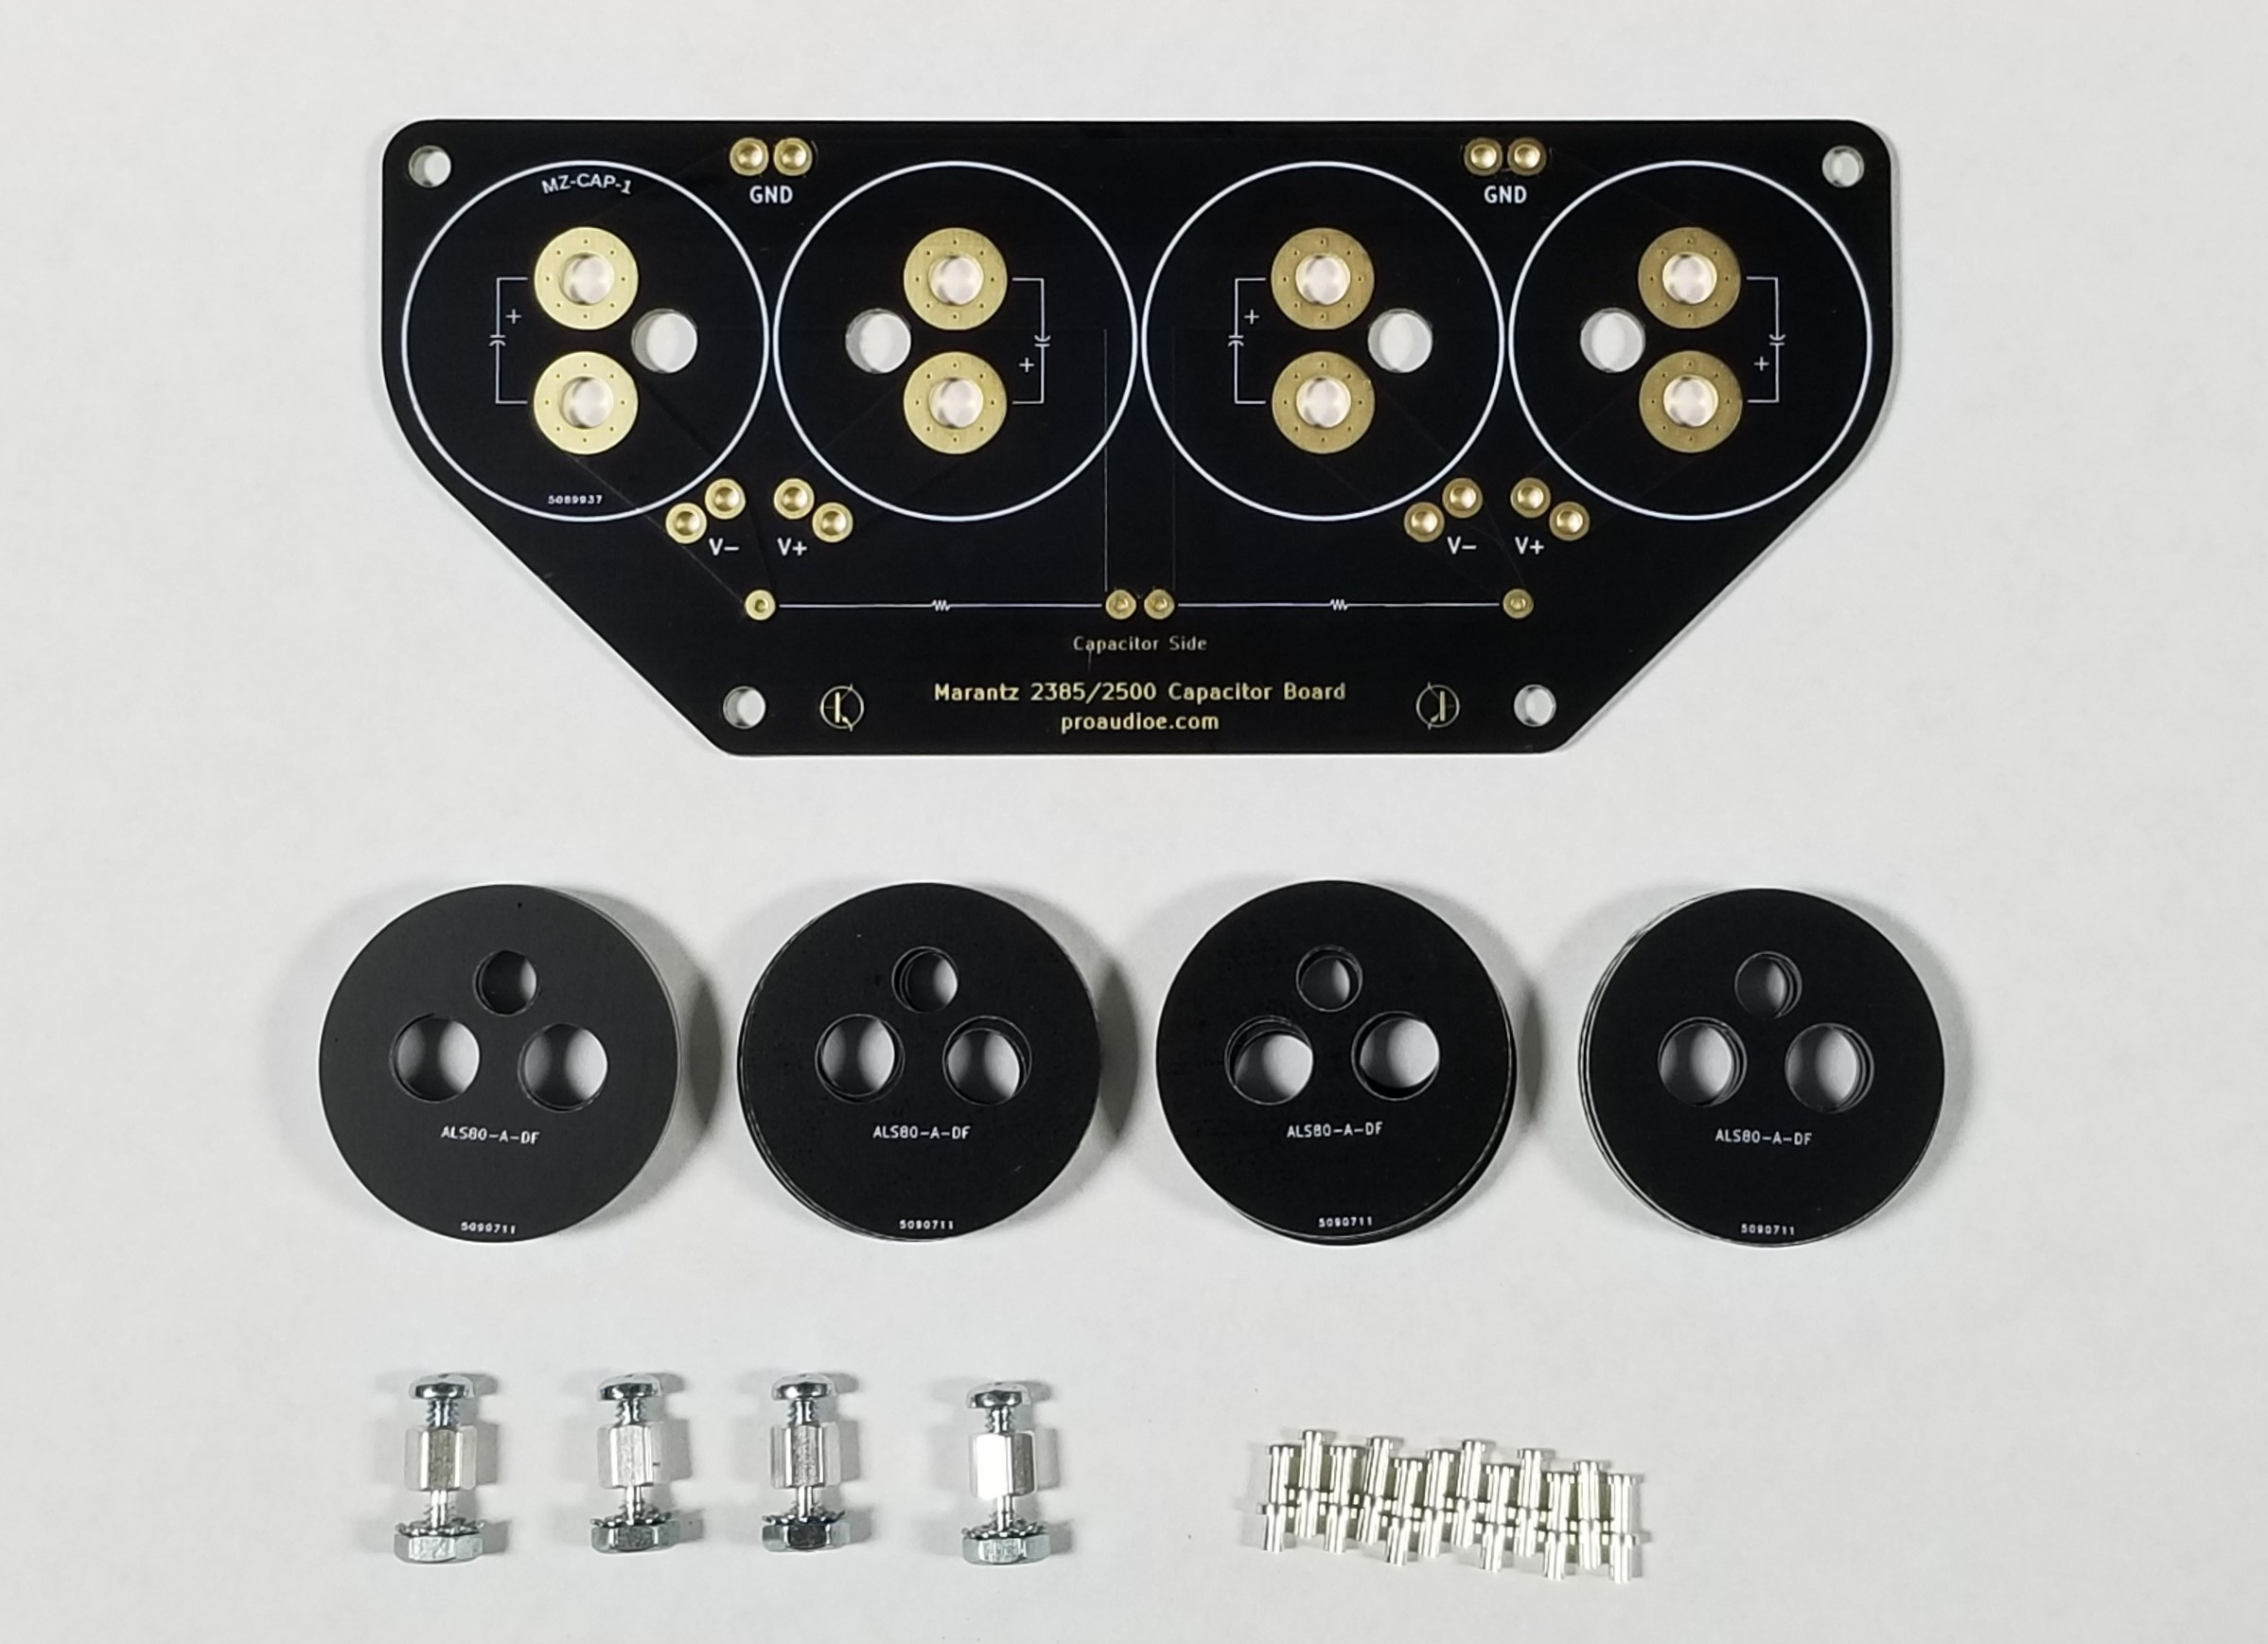
MZ-CAP-1
Click the link below to download the installation guide
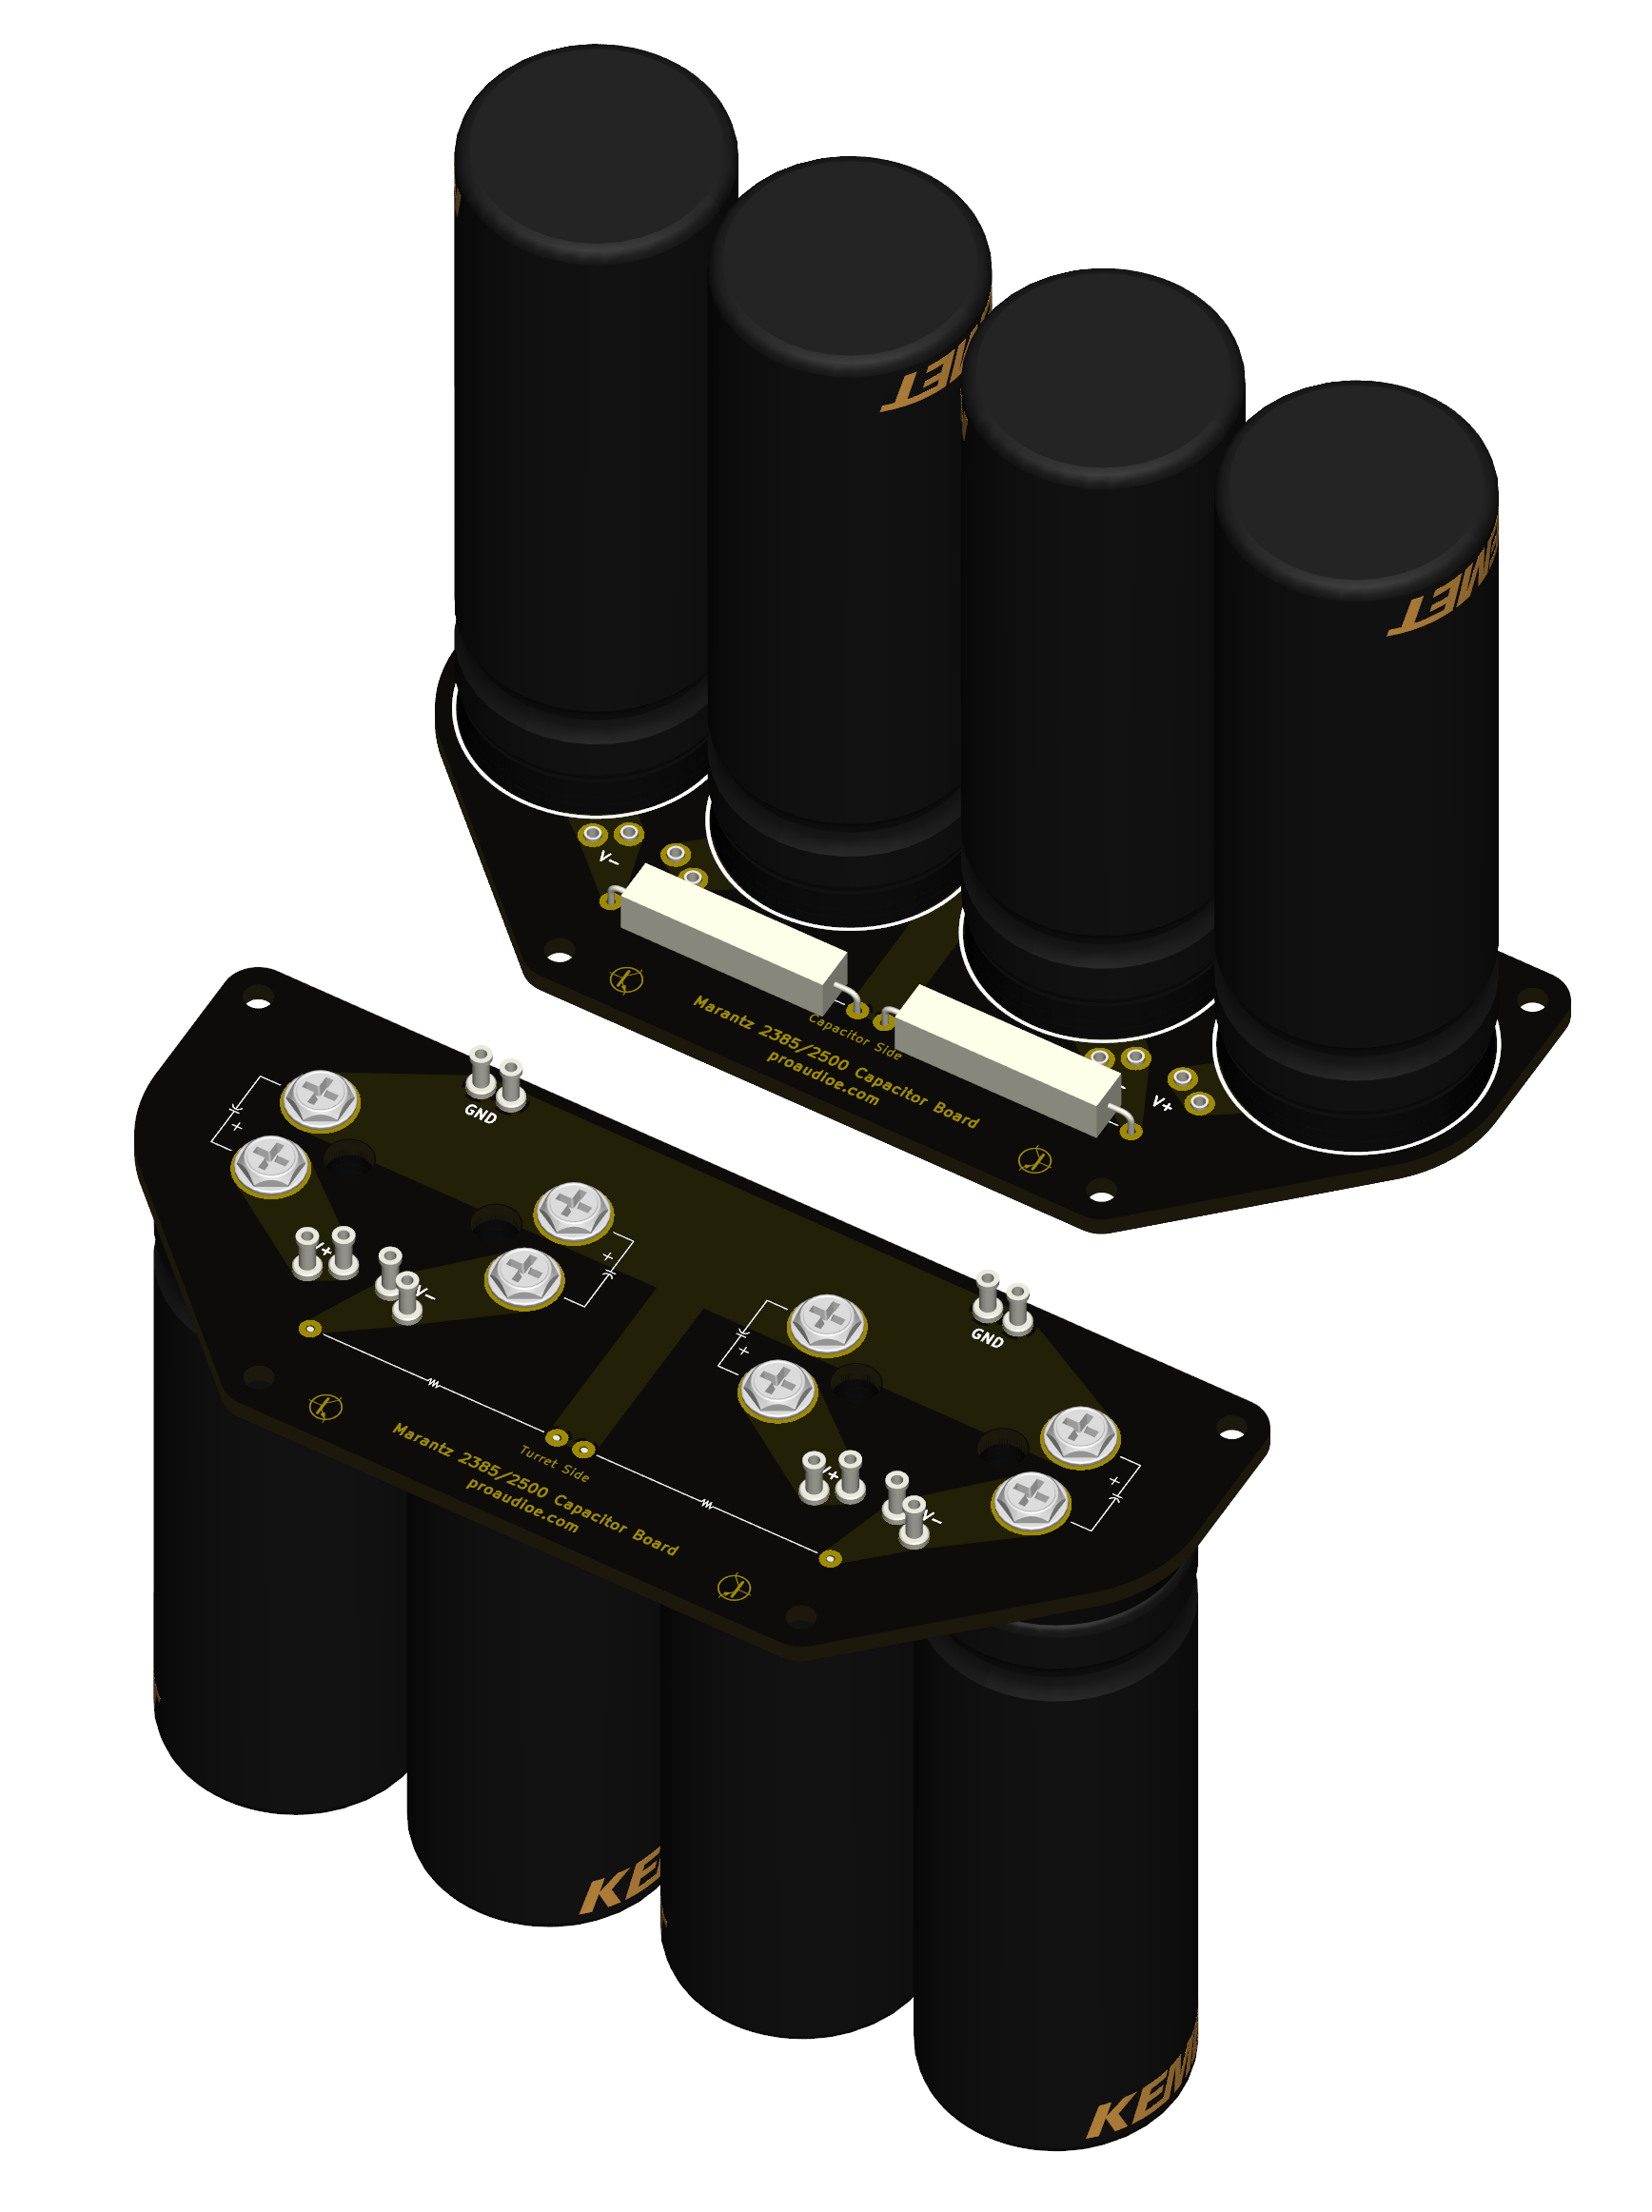
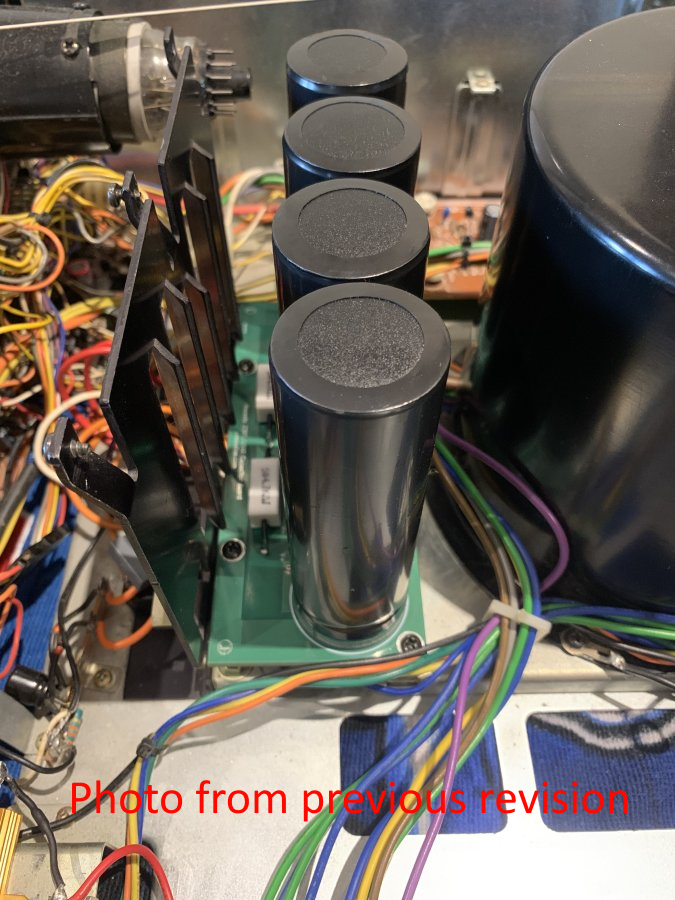
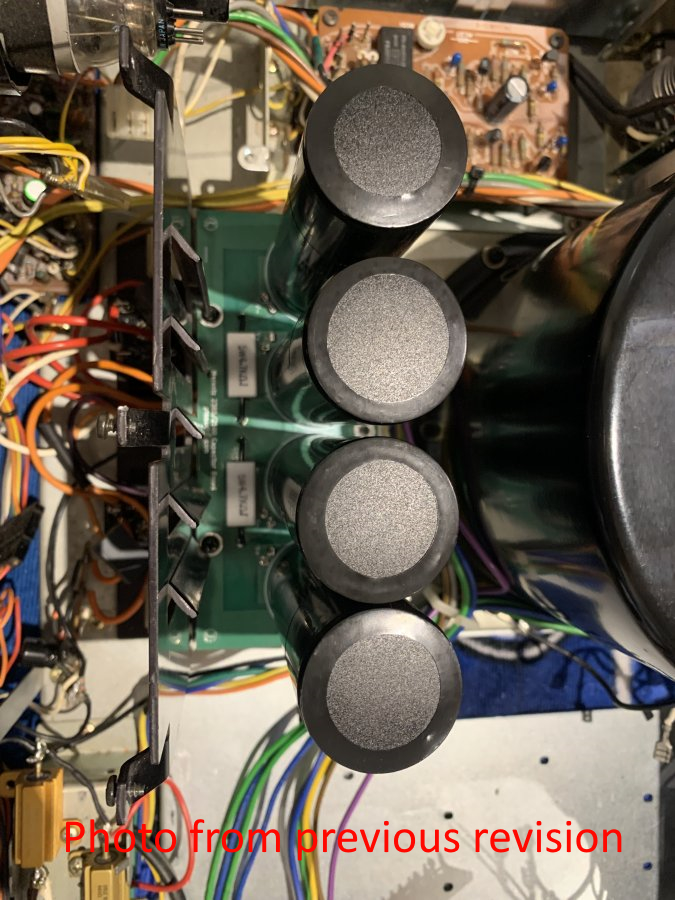
This kit is designed to replace both dual electrolytic capacitors used in the Marantz 2385 and 2500. The 2385 uses a set of dual 6800 uF/85 V caps, while the 2500 uses a set of dual 7200 uF/100 V caps. These dual capacitors are difficult to come by, so at the request of a customer we created a custom mounting board that fits four modern production screw-in capacitors.
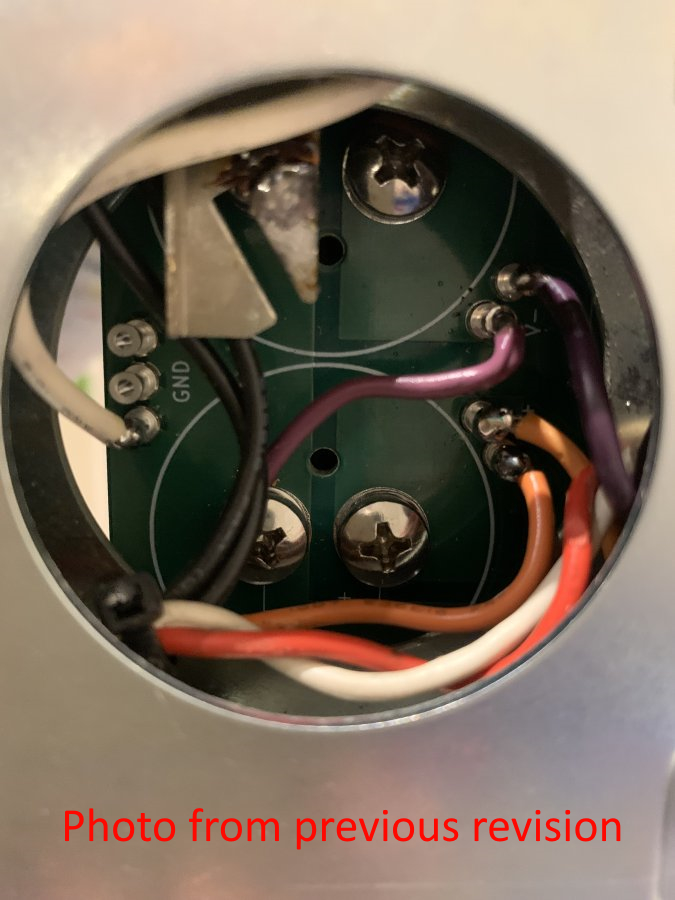
The board mounts using four screw holes that were used by the mounting brackets of the original capacitors. Wiring is done from the bottom of the unit and is made easier by the use of robust wiring turrets. Footprints are provided for installing the bleeder resistors on the circuit board, but they can also be left where they are and attached to the wiring turrets. The mounting board itself is manufactured with double-sided 2 ounce copper, large copper pours to ensure very low impedance connections to the turrets, a matte black and immersion gold finish, and a 2.4 mm thick FR-4 laminate to reduce board flex.
Included in the kit is a capacitor mounting board, the necessary board mounting hardware, and an installation guide. New capacitors and capacitor screws are not included; please refer to the section titled “What You Will Need” below:
What You Will Need
The mounting board was designed to fit four Kemet ALS80A822DF100, which is an 8200 uF/100 V screw-in capacitor. At the time of this writing (March 2024), these are currently in active production and stocked by vendors like Digi-Key and Mouser for about $20 USD each. These do not ship with the necessary screws, so you will also need eight M5-0.8 x 12 mm machine screws with head diameter 11 mm or less (e.g. Prime-Line 9131367) and eight M5 internal tooth lock washers (commonly available in tooth lock washer assortment kits online).
The dimensions of the Kemet capacitors are 36 mm diameter, 107 mm height, 12.80 mm CTC mounting stud spacing, and it uses M5-0.8 threads. I recommend using this specific part (or one in the same family, ALS80-A-DF). If you need to select a different capacitor, there are some important caveats listed below:
- Make sure the capacitor diameter does not exceed 36 mm and the height does not exceed 107 mm, otherwise the capacitors may not fit on the board or inside the unit
- Make sure the screw stud spacing is 12.80 mm and the thread type is no larger than M5-0.8, otherwise the screws may not fit through the holes in the board
- Make sure the rubber plug for the capacitor’s pressure relief vent aligns with the hole on the mounting board. You may need to drill new holes if the orientation of your capacitor’s positive and negative terminals differs.
- This kit includes a set of spacer boards for each Kemet ALS80-A-DF style capacitor that account for the length of the mounting studs to reduce mechanical stress on the mounting board. If you select different capacitors that have long mounting studs, the included spacers may not fit. Even if the mounting studs are flush with the bottom of your cap, it is recommended that you incorporate some kind of spacer underneath the caps because the pressure relief hole on the mounting board is a bit small, though it can be drilled larger if needed. This will be corrected in future revisions
If in doubt, please refer to the drawing in the listing which shows board dimensions. Feel free to send me a message if you have any questions.
Note that due to the slight increase in capacitance with the Kemet ALS80A822DF100 capacitors compared to the original parts, you may wish to replace the original bridge rectifiers with parts capable of handling higher continuous and peak surge currents due to the increase in power-on inrush current. For reference, the Marantz 2500 schematic indicates that it uses two S5VB40 bridge rectifiers, which are rated for 6 A continuous current (when bolted to a heat sink, i.e. the chassis), 200 A peak surge forward current, and 600 V maximum reverse voltage. The 2385 uses two S5VB20, which have the same current ratings but are rated for 200 V maximum reverse voltage.
Lastly, you will need the usual tools and equipment involved in servicing stereo equipment (pliers, wire cutters, variable temperature soldering iron, multimeter, etc.) This kit requires some skill and experience to install, so if you are not thoroughly familiar with repairing electronics at the component level, please have a qualified service center install it for you.
Parts Included
- One capacitor mounting board (2.4 mm thick TG150 FR-4, 2 oz. copper, matte black solder mask, immersion gold (ENIG) finish)
- Twelve wiring turrets
- Twenty capacitor spacer boards designed for the Kemet ALS80-A-DF family (5 per capacitor)
- Four #6-32 threaded standoffs, nuts, and screws for mounting the board
- Step-by-step installation guide

