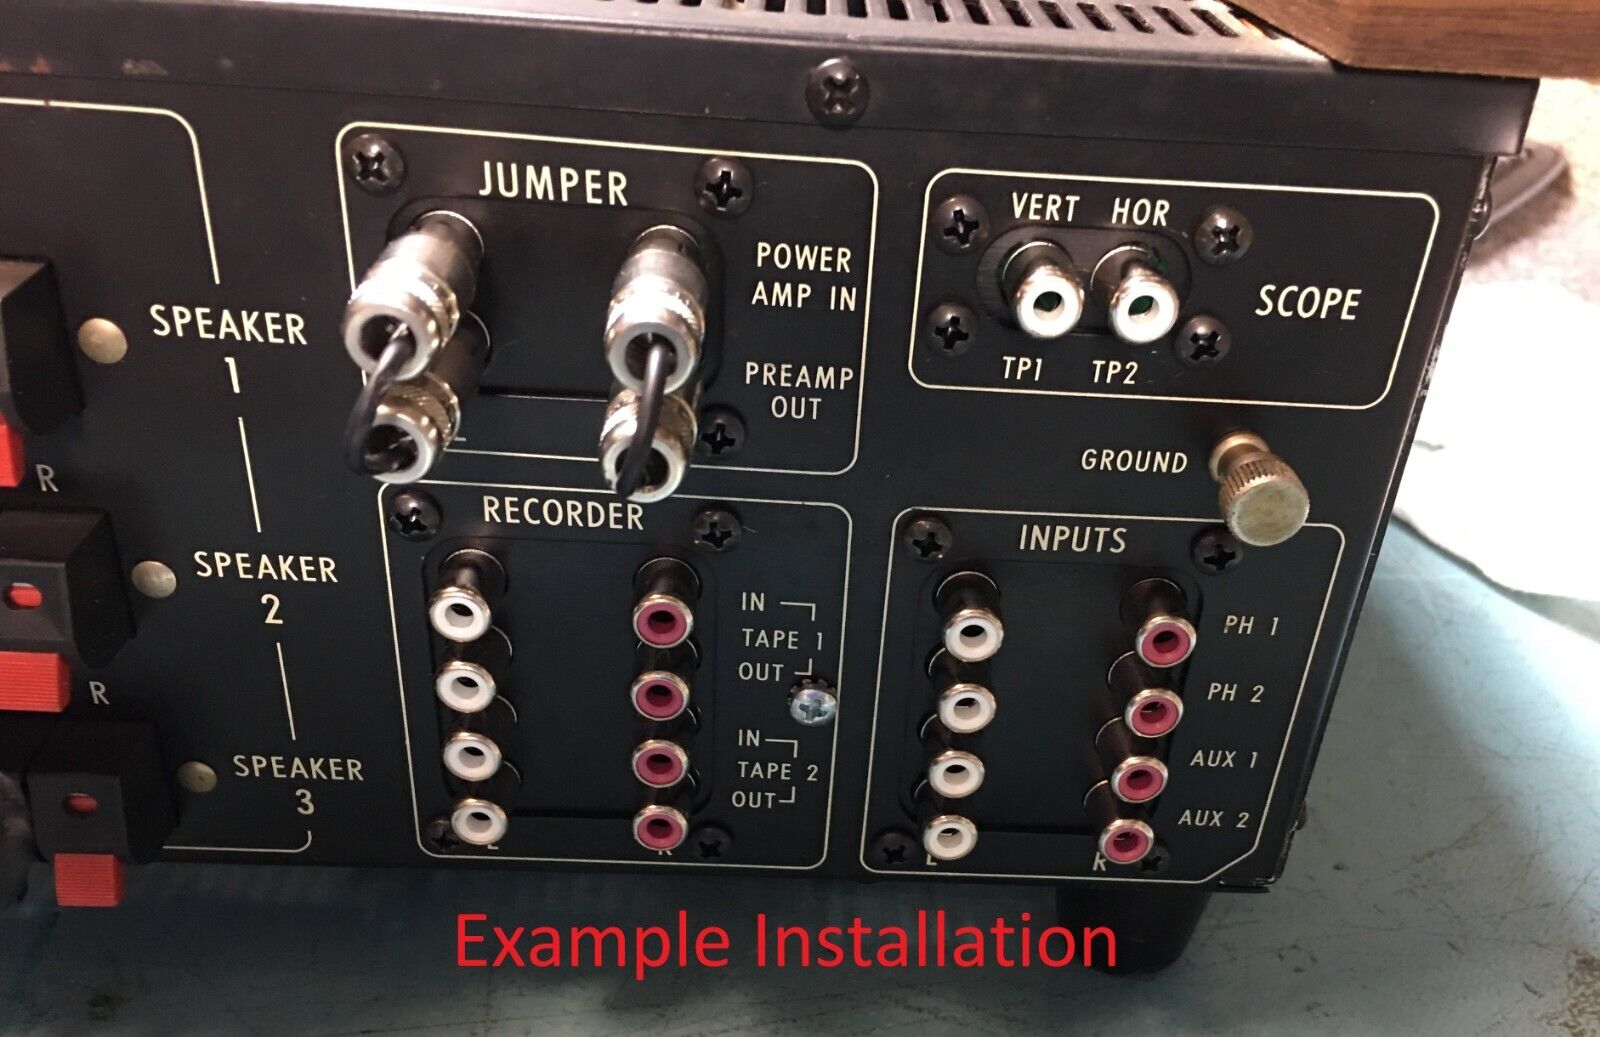
MAC4100RCA
Click here to download the installation guide
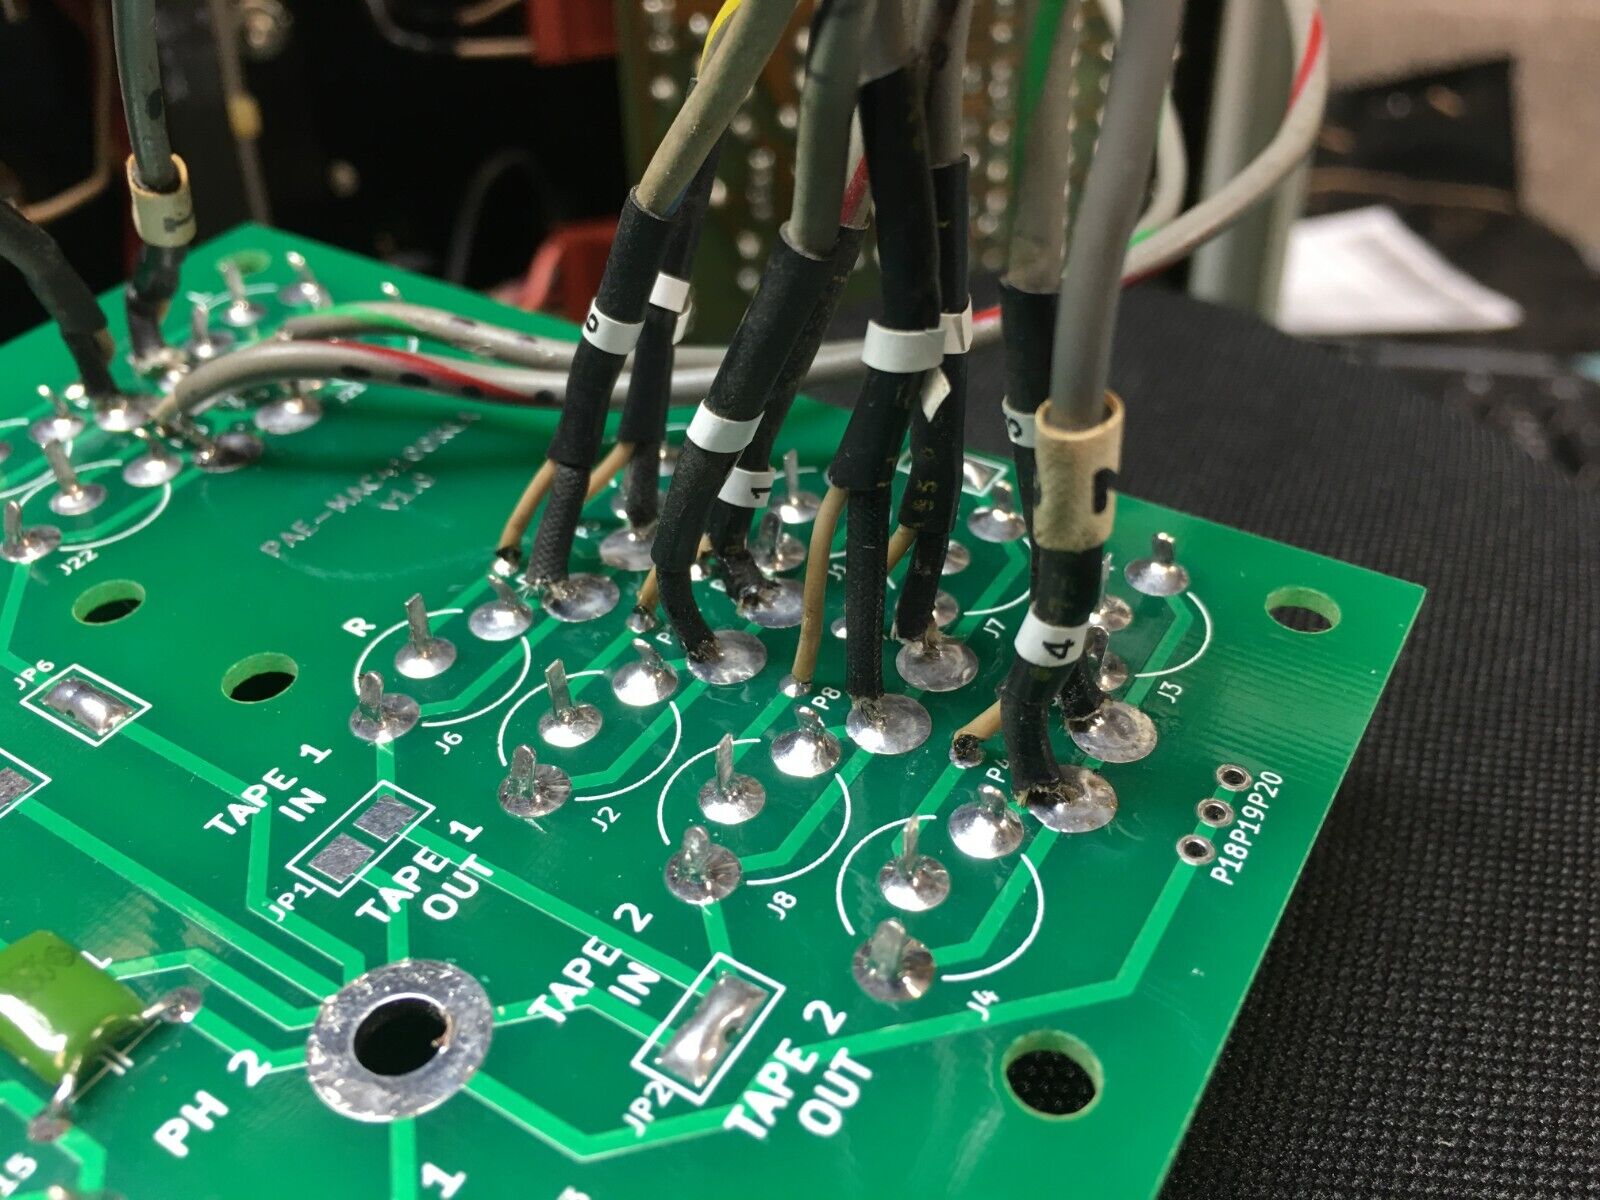
This kit is designed to replace the original riveted RCA jacks used on the back of McIntosh MAC4100 receivers. A custom RCA mounting board re-uses the original rivet holes for attaching to the back panel and provides plated holes for soldering the input/output shielded cables. The mounting board uses 2 ounce copper and wide traces to connect each RCA jack to their respective solder pads, and the star ground arrangement of the original wiring scheme is maintained. A matte black cover plate is included for replacing the original black shrouds around the RCA jacks.
Please note that the installation process for this kit is fairly complex and will involve drilling out the original RCA rivets, soldering the new RCA jacks to the mounting board, stripping and soldering each shielded cable to the new board, and mounting the new board in place. We recommend testing your unit before installation to ensure everything is working as expected, and then taking plenty of pictures throughout the process to use as reference.
Note: The included black machine screws will be slightly shorter than those in the listing photos to avoid having extra thread length sticking off of the back.
Parts Included
- One RCA mounting board
- One matte black RCA cover plate
- 12 white, 10 red RCA connectors
- Wire jumpers
- 10nF/250V C0G phono ground capacitor
- Mounting hardware kit
- Installation guide
Additional Details
- Connection of each group of RCA jacks to the star ground is facilitated via wire jumpers. The mounting board comes with these jumpers pre-installed in the most common configuration, but depending on your unit, you may need to add or remove a jumper. This is documented in the included installation guide
- The 10nF ceramic capacitor connecting the phono shields to chassis ground also comes pre-installed on the mounting board, eliminating the need to re-use the original
If you are interested, please contact us.


